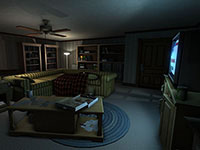
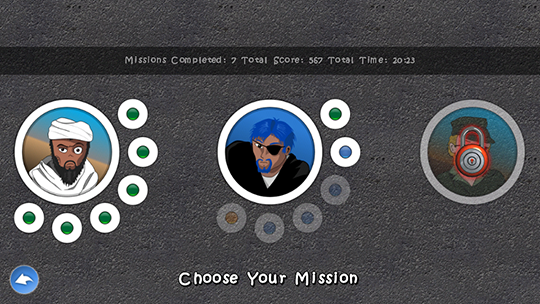
So far we have talked about graphics engines and game engines. Today we are going to kick-start our own game engine. I have called the game engine Artenus, which is the name of the ancient Persian goddess of creation. Having a name makes it easier to refer to the engine during this guide. In day 2, we introduced different components of a game engine. What is covered today is mainly about what components Artenus has and what you need before getting started. Below is a screenshot of my first ever game made using the Artenus game engine. We will make another game together with this engine, once we are done implementing it.
Artenus components
Before we start, please note that we will not implement all the components described in day 2 here, our game engine will not have 3-dimensional capabilities. It is rather an educational procedure in which you learn how to design a basic game engine. Below are the components we are going to incorporate.
Rendering
This is an inseparable part of any game engine. We are starting on Android. The rendering engine supported by Android devices is OpenGL ES and we will built Artenus on top of it. We might still have a few steps to take before getting into learning OpenGL ES on Android. OpenGL ES will not be completely covered in this guide (it is lengthy and the focus of this guide is not on rendering).
Animation
Artenus will have 2-dimensional objects in the game that can be moved and animated. We will implement sprite-based animation. Each sprite is represented by a group of frames and each frame is basically an image (also called a texture) or a partition of an image. We will see this in more detail later.
Sound
We will take advantage of the sound features in the Android SDK to create a unified sound system. Our sound system supports background music, sound effects, and volume control, and will be simple and easy to use.
Physics
For physics, we use Box2D which is an efficient 2-dimensional physics library and is available for may platforms, including Android. We will use this library internally, and the final framework’s interface will work differently than basic Box2D framework.
Input
When it comes to mobile phones, we usually think of only touch input. However, phones have more sources of input than that. There are various sensors a phone can use, and phones can also support controllers like those of game consoles these days. Besides, our goal is to be able to extend our game engine to various platforms, including desktop. We will design an abstract input manager that can encapsulate every input method supported by a device. We will also implement some basic input methods specifically for Android on top of our input manager.
Store Services
We will implement online achievements and leaderboards for both Google Play and Amazon AppStore. We will also incorporate in-app billing into our engine so you won’t have to worry about its complications for every game you make. These will be the last thing we do, so we will not speak about them just yet so things do not get too complicated.
What you need
Here is a list of tools and libraries you need before we get started. Please download these components and have them ready for the following days, as we will do more serious work.
Development environment
A few years back you needed to do everything yourself to have an Android-ready IDE for development. This has become really easy now. If you go to the link provided below and download the ADT Bundle, you will have everything you need for Android development. Besides, you can also download Android Studio, which makes things even easier.
- I will be using Android Studio in this guide, the reason basically being I wish to start using it. If you are an Eclipse user, you can either keep using it, or explore Android Studio with me and use it to create your game engine. It is completely up to you. However, keep in mind that all instructions, screenshots, and results in this guide will be in Android Studio.
- Android development is not covered in this guide, although I might sometimes explain things a bit. If you are a beginner, I recommend getting some training through the Android Developers website before proceeding. If you are anything more than a beginner, it is fine.
SVG parser for Android
Our 2-dimensional game engine is a multi-resolution solution. You do not need to include graphics for every screen. Instead, you will include vector graphics in your game package, and they will perfectly resize to every resolution and yield crisp graphics and fast download for your games. To achieve this, we use another open-source library, called svg-android. You can use the link below to download it.
Box2D physics library
You will also need the Box2D library. Box2D itself is a C++ library and we need to get the Java port of it. Use the link above to download this library.
Next steps
After this, we will design an animation framework and then implement it. Before proceeding to future days, I suggest you familiarize yourself with the tools introduced today. If you have not developed for Android before, please try a few simple apps to get the ropes of it. If you are not a beginner, I recommend running some JBox2D demos and trying to see how they are implemented and how the library is used. svg-android is really simple to use. You can also try it out in some simple apps. But if you do not feel comfortable enough for trying the libraries or are simply too lazy, it is also fine! Both libraries will be explained in fair detail later on in this guide.
